WaStop Installation
The Problem
Installation time is important when considering a check valve. Often they are installed in tidal areas, or areas with limited access. Within one turn of the tide you want to have the valve installed and the job completed. If the job runs over time it can be difficult getting access due to weather conditions or tidal conditions and expensive to return to site. A relatively light-weight valve with a structurally solid housing makes installation easier and faster.
The Solution
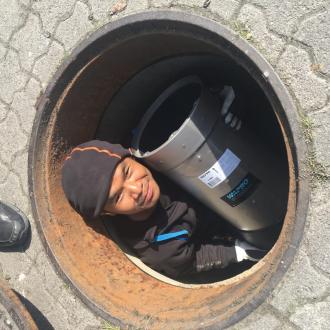
WaStop Inline Check Valves are fast and easy to install. In just 30 minutes a large valve can be installed and the job completed. Time and money are saved through a simple and quick installation requiring few tools and minimal labour.
Importance
Speed Of Installation – Why Is It Important
Time spent on installation adds to cost. WaStop can be installed quickly and easily with minimal equipment required. Valves can be lower in purchase price, but more difficult to install leading to the necessity to use an outside contractor which increases the total cost of the valve. WaStop can be installed by in-house maintenance crews in most circumstances.
A standard installation takes roughly 30-60 minutes depending on size. Most municipalities/councils are able to install the WaStop valves themselves without the need for a contractor. This also reduces costs and allows more flexibility in installation. In smaller communities where maintenance or other such work is out-sourced, contractors are used for installation. Often the same contractor is used for several installations. Once they have installed the first valve it is easier to estimate time and material required for future work, thereby reducing costs.
A comparison done by the City of Saint Augustine, Florida showed that installation costs were 64-72% lower using in-house installation crews to install WaStop DN750mm (30") and WaStop DN600mm (24").
When comparing the cost of different solutions, including installation cost to the total cost of ownership is important. Initial purchase price is just part of the cost, adding to this installation costs and maintenance shows a truer picture of the life-cycle cost of the inline check valve.
Tests
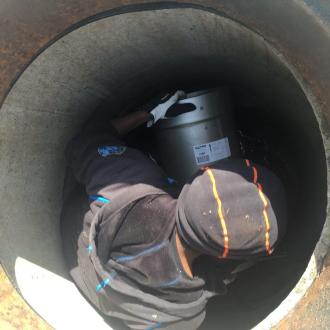
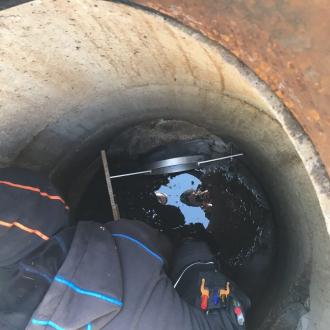
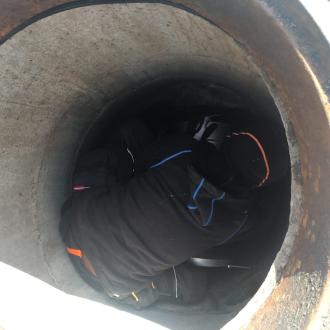
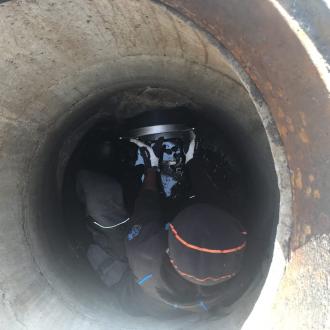
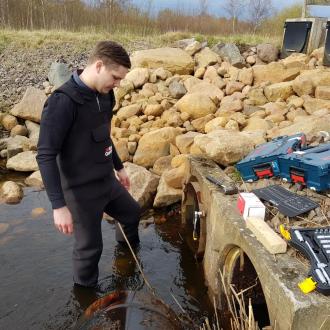
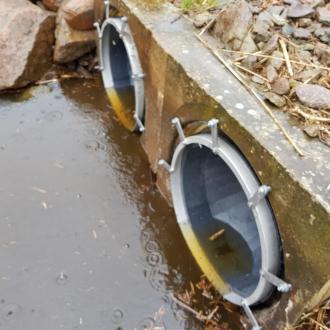
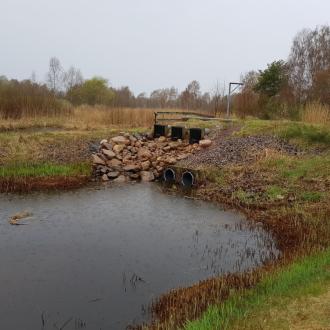
Installation Process – Mönsterås Sweden Dn600 X 2
10:05 Started installation of first valve
10:05 Cleaning the pipe with a wire brush
10:08 Push WaStop into the pipe
10:10 Adjust mounting tabs with screw driver to position correctly
10:12 Drill holes for the expander bolts
10:25 Hammer in expander bolts
10:30 Grind off excess length from expander bolts
10:35 WaStop No. 1 installed
The above process was repeated for WaStop No. 2. Installation time for the second valve was also 30 minutes.
Competitors
Installation Of Wastop Vs Competitors
Contractors and maintenance crews know about installation of all types of valves. We at Wapro have consulted with installation crews worldwide regarding the installation of WaStop valves compared to other type of backflow preventers. The feedback has been that the WaStop is generally easier to install, is easy to handle given its rigid body, and fits into any type of pipe. Installation of duckbills can be difficult due to the weight of the product. A heavier product means more difficulty getting the product into the location of installation, and also that it is essential that the headwall or pipe is able to bear the weight of the valve. In some instances a headwall may need to be reinforced or rebuilt, or a completely new headwall build to support a duckbill being installed on the end of a pipe. Flap valves most often require a headwall. This needs to be flat and clean in order for the flap valve to seal. There also needs to be space in front of the headwall for the flap valve to open, and this clearance needs to be maintained.
WaStop is about 50% lighter than the closest competing valve, therefore easier to handle. WaStop does not require a flat, even headwall for installation, and does not require space in front of the valve to open as a flap valve does. Given that a WaStop is inside the existing pipe no extra work is required in most cases.
Estimates from contractors confirm that WaStop is installed in about 30 minutes for a DN750 (NPS 30").
User Experience
User Experience
WaStop is often retro-fitted in locations where other valves have been removed. Many installation crews have installed other backflow valves and are able to compare the different methods of installation. When asked, most agree that WaStop is simple and easy to install and is the choice of the installer in difficult to access locations such as outfalls and underwater applications.

